

How To Make Your Own Custom Mylar Bags
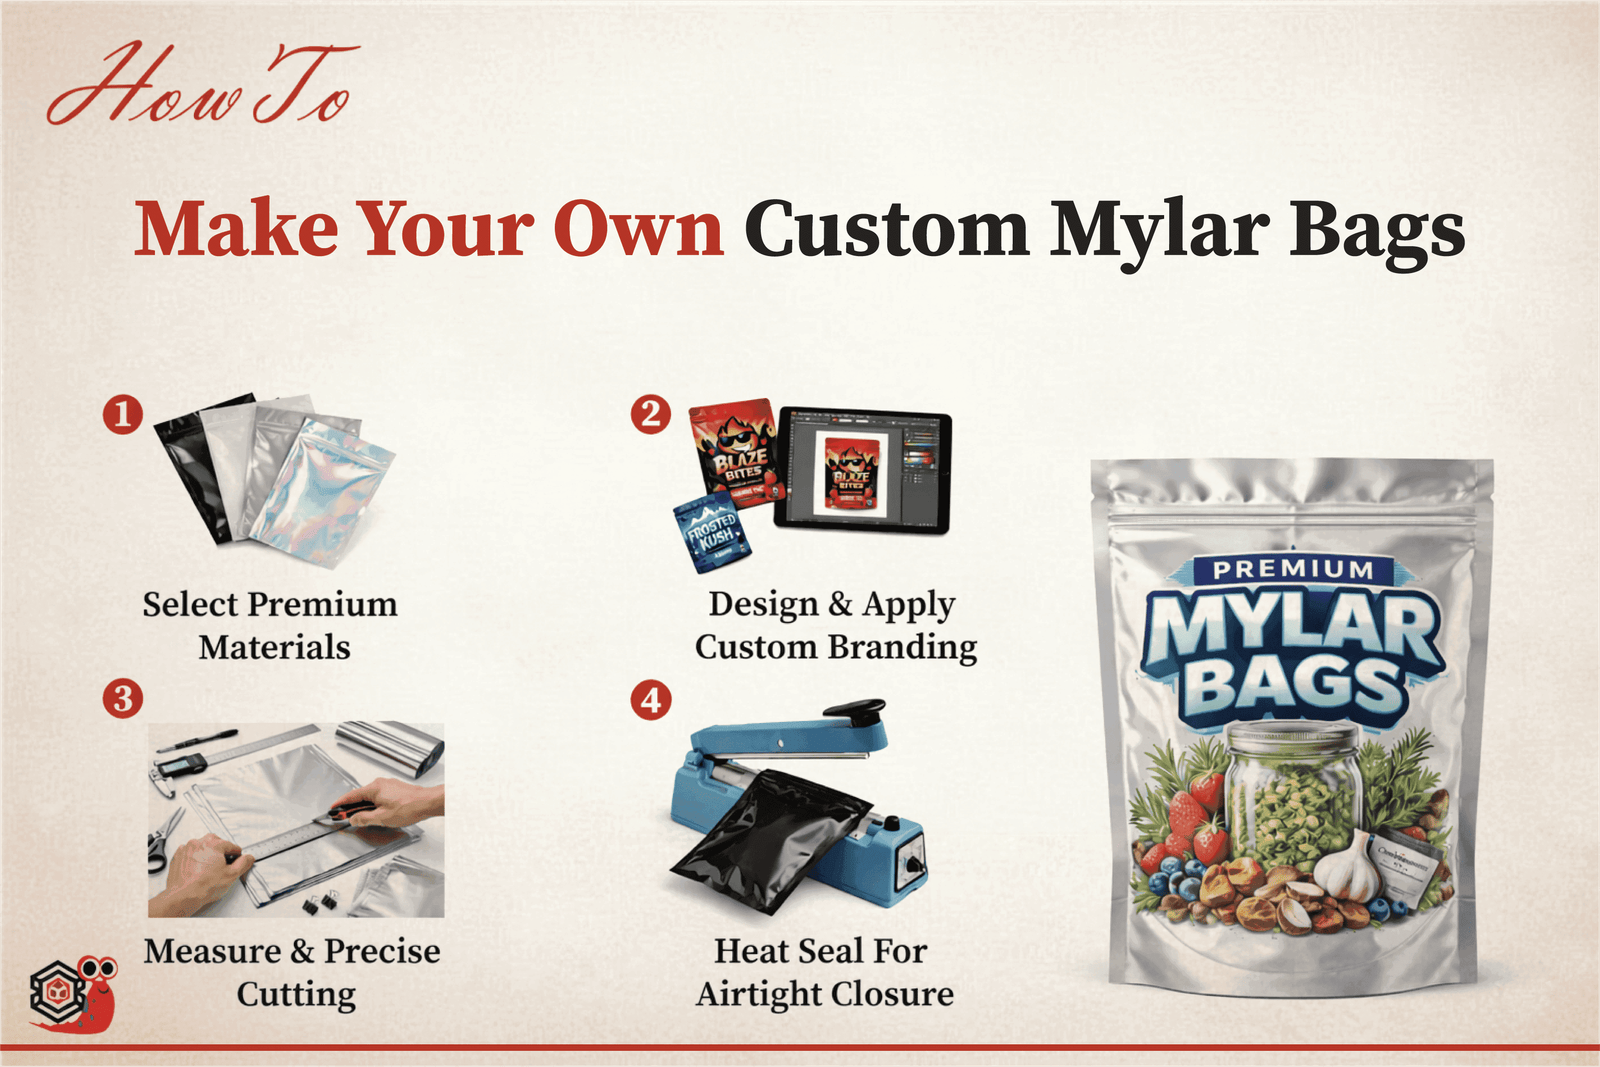
Want to learn how to make your own custom Mylar bags but feeling a little lost? Don’t worry, you’re in the right place. This guide walks you through the entire process in a simple way. Mylar bags are strong, flexible, and great at protecting products from moisture. That’s why they’re widely used for food, cosmetics, and small items.
Ready to create packaging that keeps your products safe, let’s dive in and make it easy.
Understanding The Base Material
The first step is learning how the film works. Mylar packaging material is valued for its flexibility and long-term performance. Discover the standout features and multiple custom options doable in Printed Mylar Bags that help businesses look more professional. This added protection supports moisture barrier packaging and helps brands that need reliable product freshness protection for sensitive items.
Materials And Supplies Needed
To start, gather sheets or rolls, a ruler, a cutter, and a sealer. If you plan to pack edible products, choose a material suitable for food-grade packaging. You can also add zipper closures when making ziplock mylar bags, or select special features for smell-proof mylar bags. These small additions improve function without making the process difficult.
Choosing The Right Size And Shape
The right pouch size prevents waste and keeps the final result looking clean. A bag that is too large feels empty, while one that is too small may press or damage the product. For retail display, stand-up pouch packaging works well because it holds shape on shelves. Good sizing also improves packaging design by making the pouch look balanced and professional.
Get Extra Information At A Glance
|
Feature |
Stand-Up Pouch |
Flat Pouch |
Gusseted Bag |
Pillow Pouch |
Eco Bag |
|
Thickness |
3–5 mil |
3–5 mil |
3–5 mil |
3–5 mil |
2–4 mil |
|
Best Use |
Snacks |
Small items |
Bulk items |
Powders |
Eco products |
|
Structure |
Self-standing |
Flat |
Expandable |
Simple |
Flexible |
|
Sealing |
Heat/zip |
Heat |
Heat/zip |
Heat |
Heat/twist |
|
Branding |
Full print |
Labels |
Full print |
|
|
Step-By-Step Process To Make Your Own Pouches
Making pouches becomes easier when you follow a repeatable method. Each step matters, even when the setup is small.
-
Choose the Right Film
Bags starts with choosing a thickness that matches the weight of your product. This is especially useful when producing snack packaging, coffee packaging bags, herbal product packaging, or cosmetic product packaging, where both appearance and protection matter.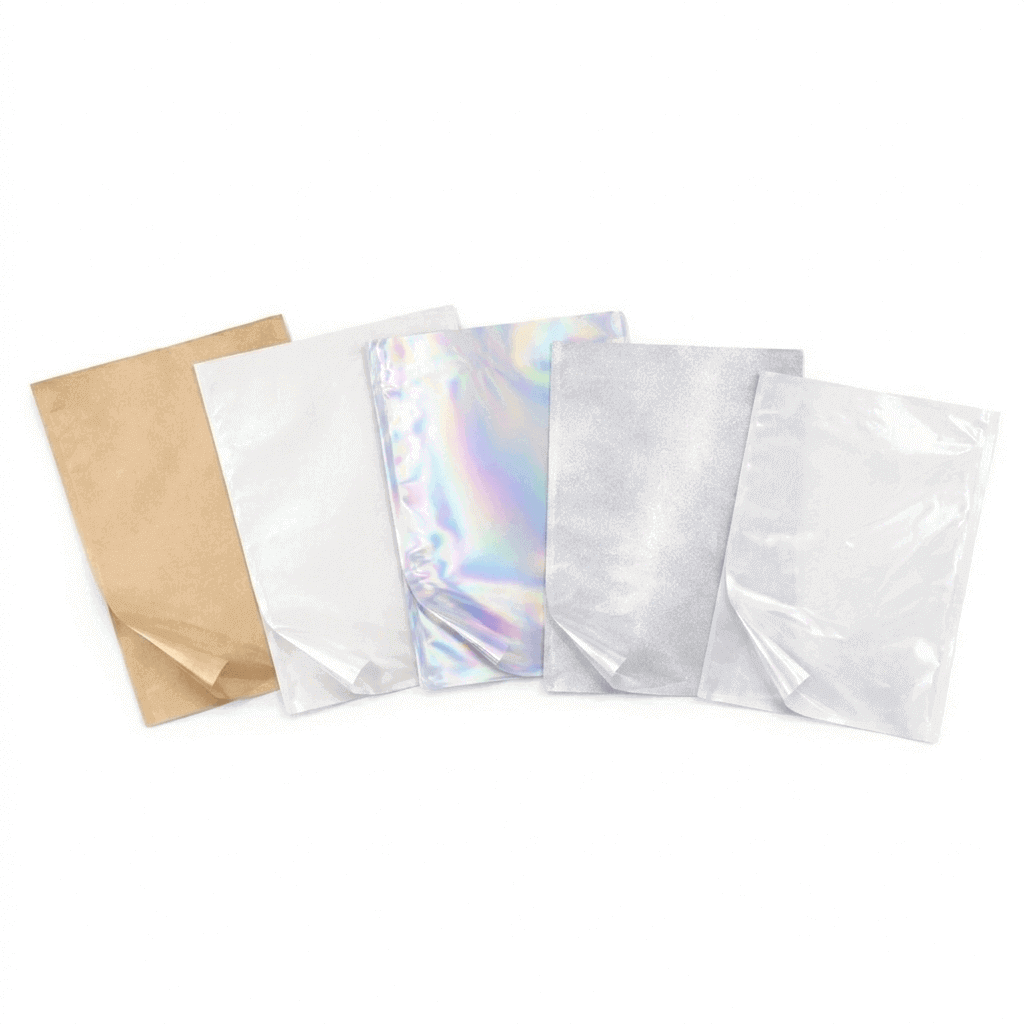
-
Precise Cutting of Sheets
Mylar bags also depends on accurate cutting. Measure carefully before cutting so the edges stay straight and clean. Straight lines make folding easier, reduce waste, and help the pouch look neat after sealing. Leave enough space at the top so the pouch can be closed properly later.
"Packaging can be theater, it can create a story." — Steve Jobs
-
Folding and Shaping the Pouch
Fold the sheet evenly line up the edges before sealing. Clean folds help the pouch keep its structure during filling and storage. This is also the stage where you can decide whether the pouch should look slim, wide, or more box-shaped depending on the product.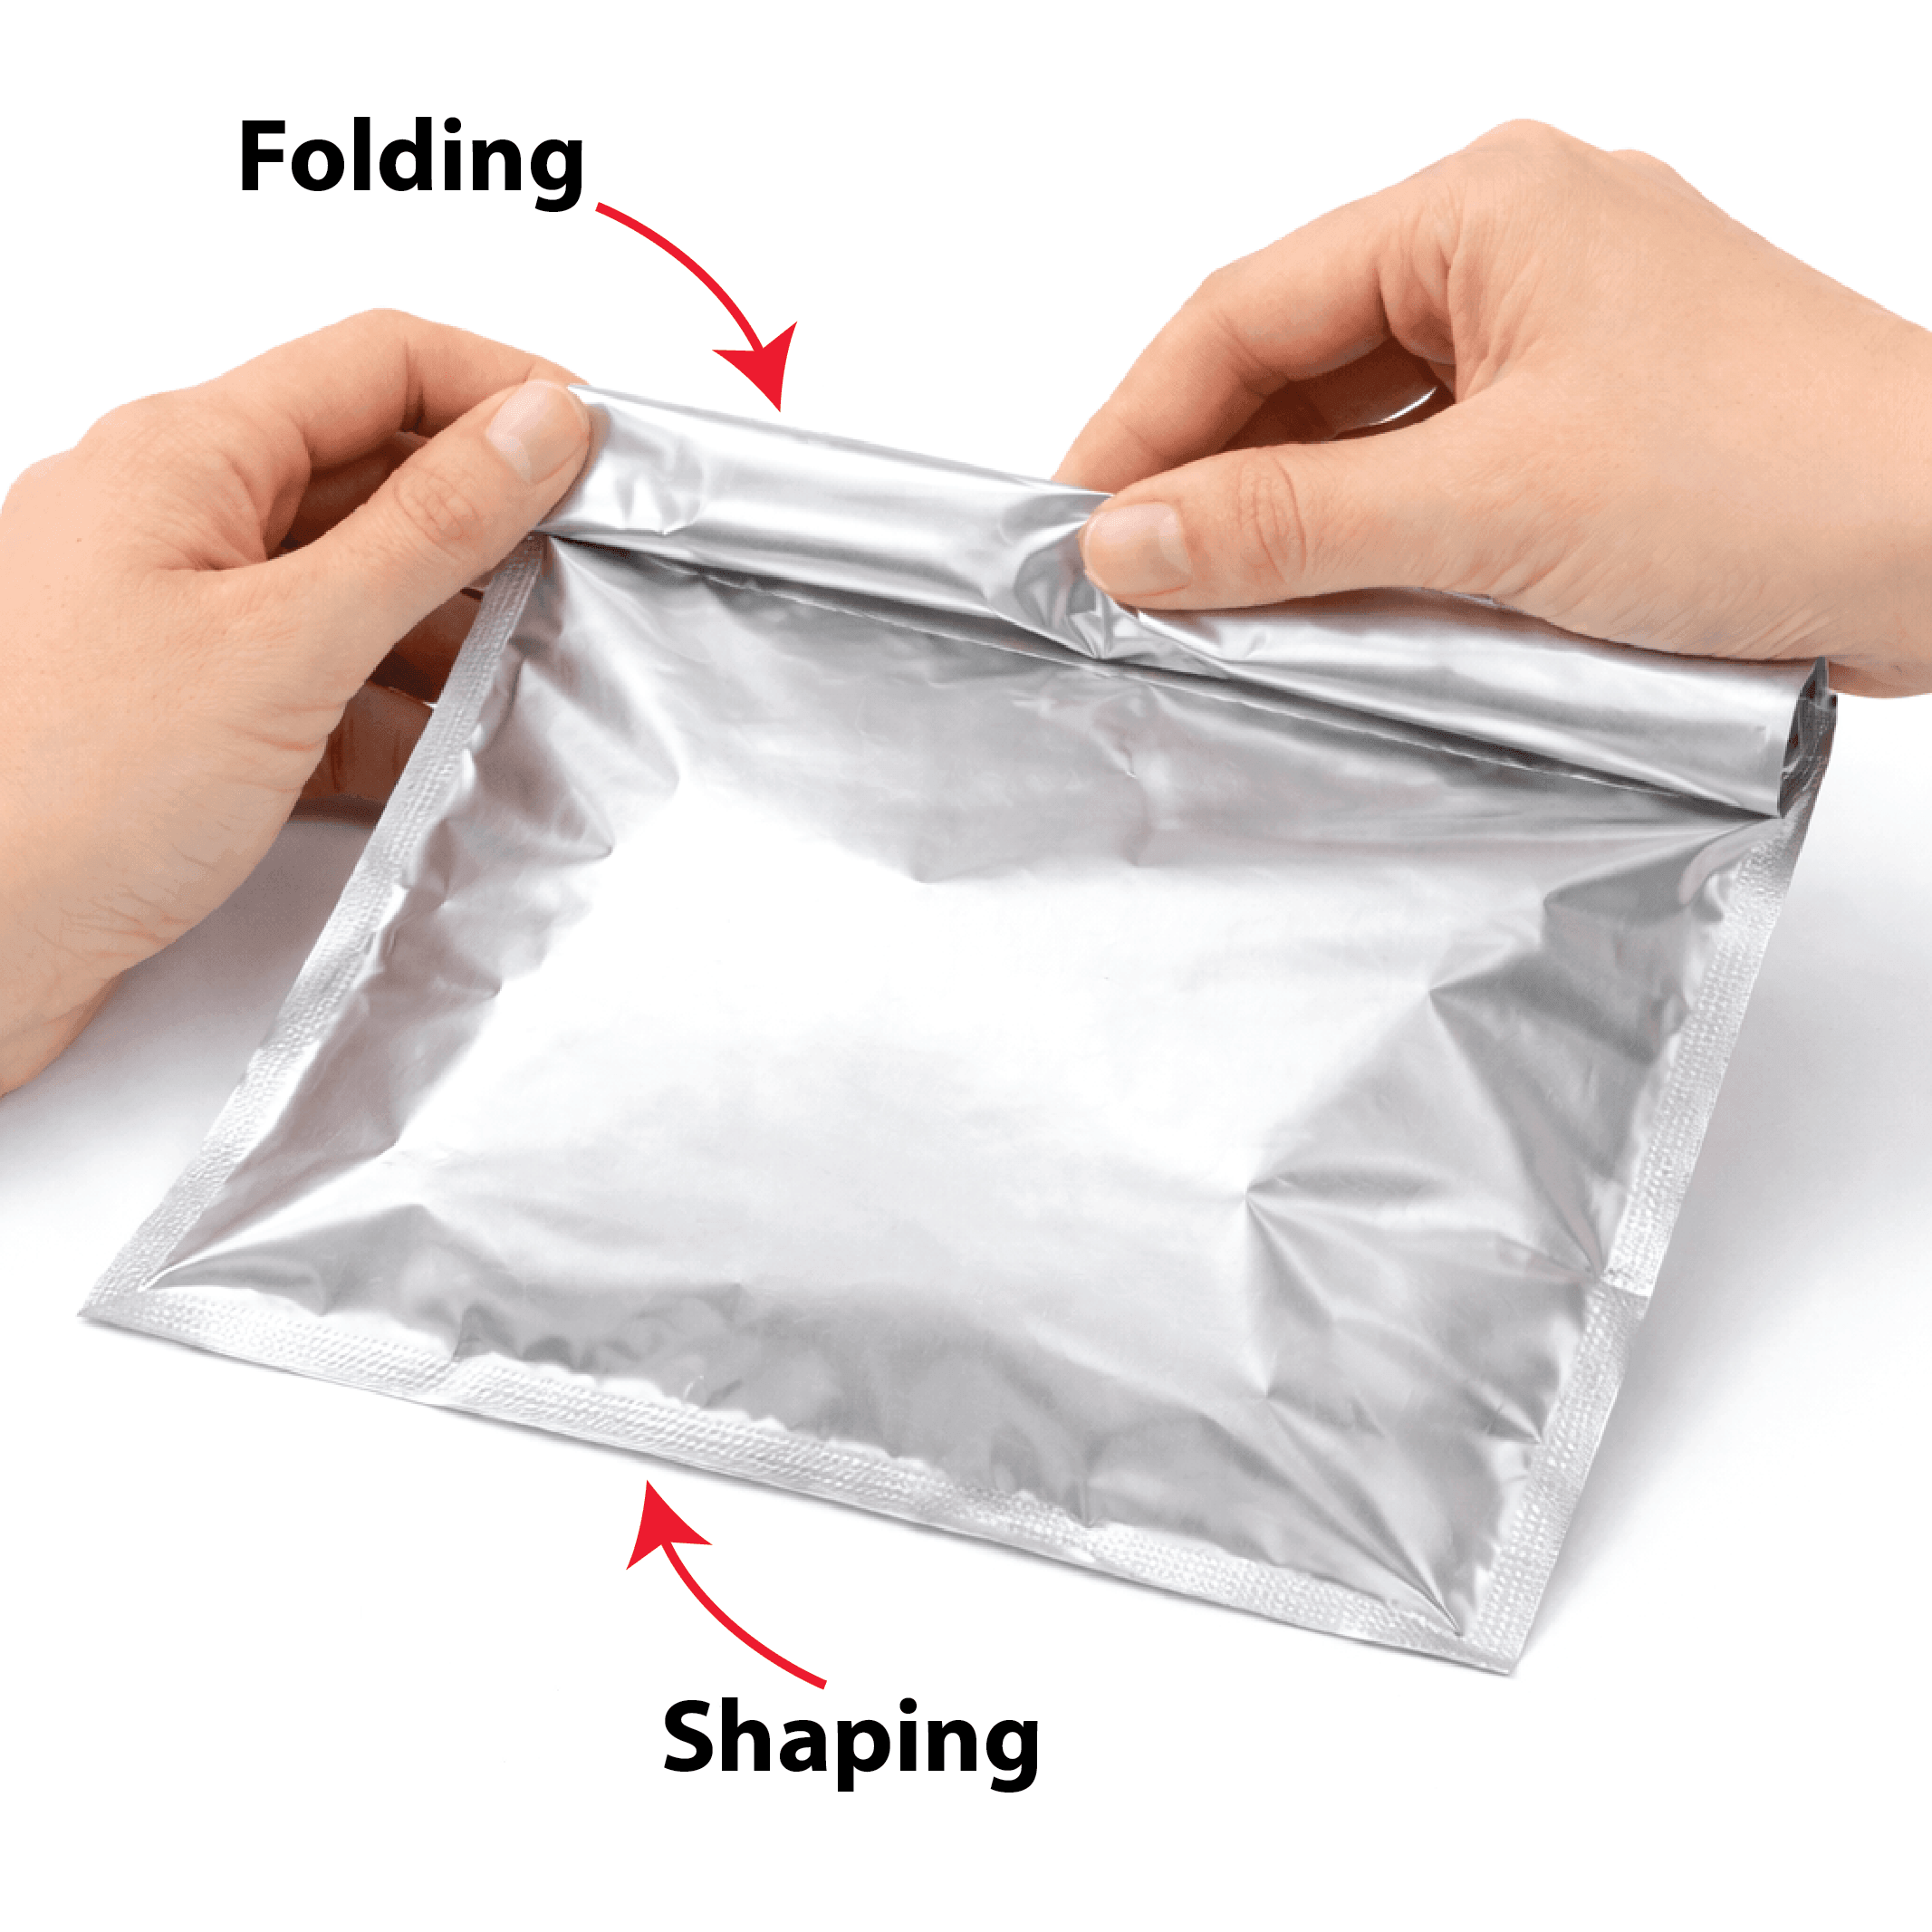
-
Adding Branding and Visual Details
When learning how to make your own custom Mylar bags, branding is one of the most important steps. Some businesses prefer custom printing across the full surface, while others keep it simple with logo printing only.
-
Sealing for Protection
Use a sealer with the correct temperature so the edges close firmly. Strong heat-seal packaging helps prevent weak seams and keeps the pouch secure during storage or shipping. A proper seal also improves moisture-resistant packaging.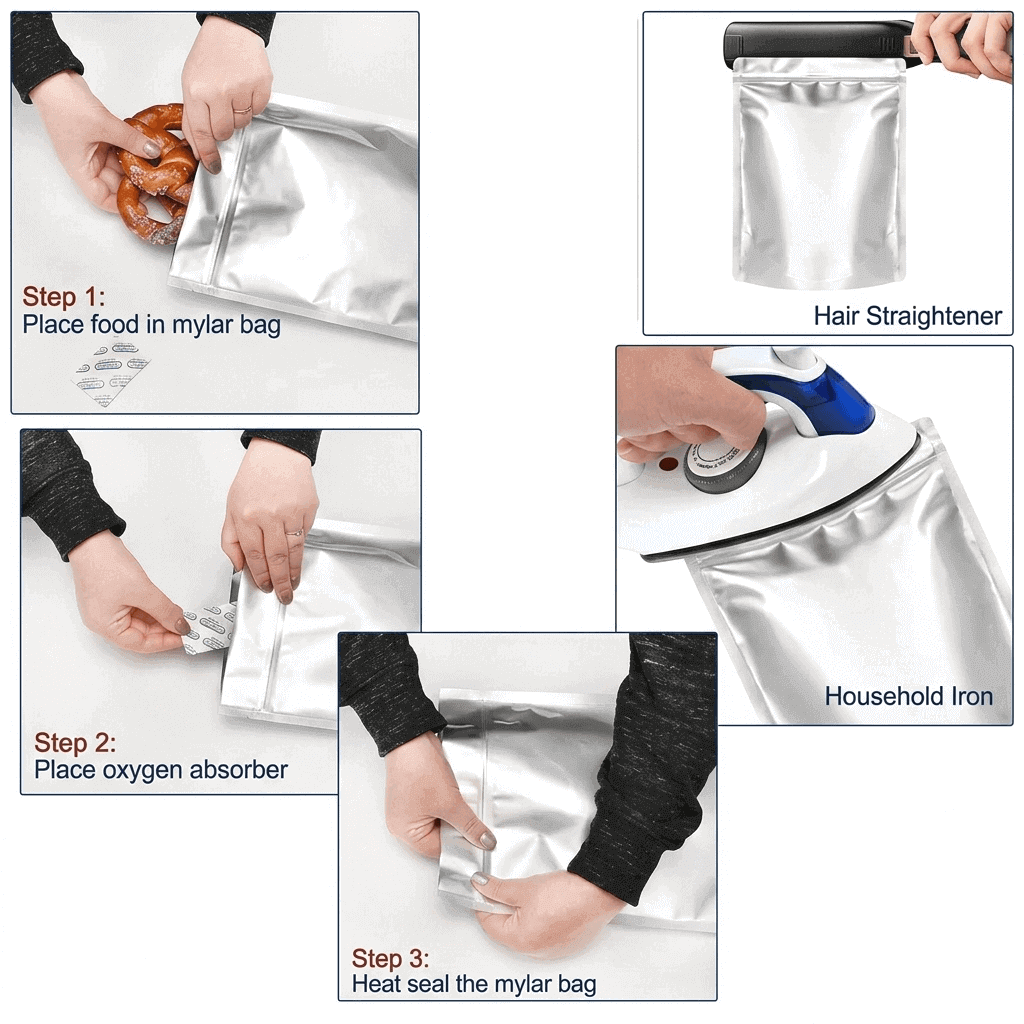
-
Testing Quality and Durability
Before larger production, how to make your own custom Mylar bags should always include testing every sample for leaks, weak edges, and shape problems. This final check supports oxygen barrier packaging and can help with shelf life extension when products need longer storage. Simple testing now can prevent bigger issues later.
Production Tips For Beginners
If you are new to this, begin with small batches and keep the design simple. Test a few versions first, then improve the shape, finish, or sealing method as needed. This makes the process easier to manage and helps you build confidence before moving to larger quantities.
Common Mistakes To Avoid
Low-quality film, poor cutting, and weak sealing are the most common problems. Another mistake is choosing the wrong size for the item inside. Keep the structure practical, the finish neat, and the branding clear. That usually leads to better-looking pouches and fewer production issues.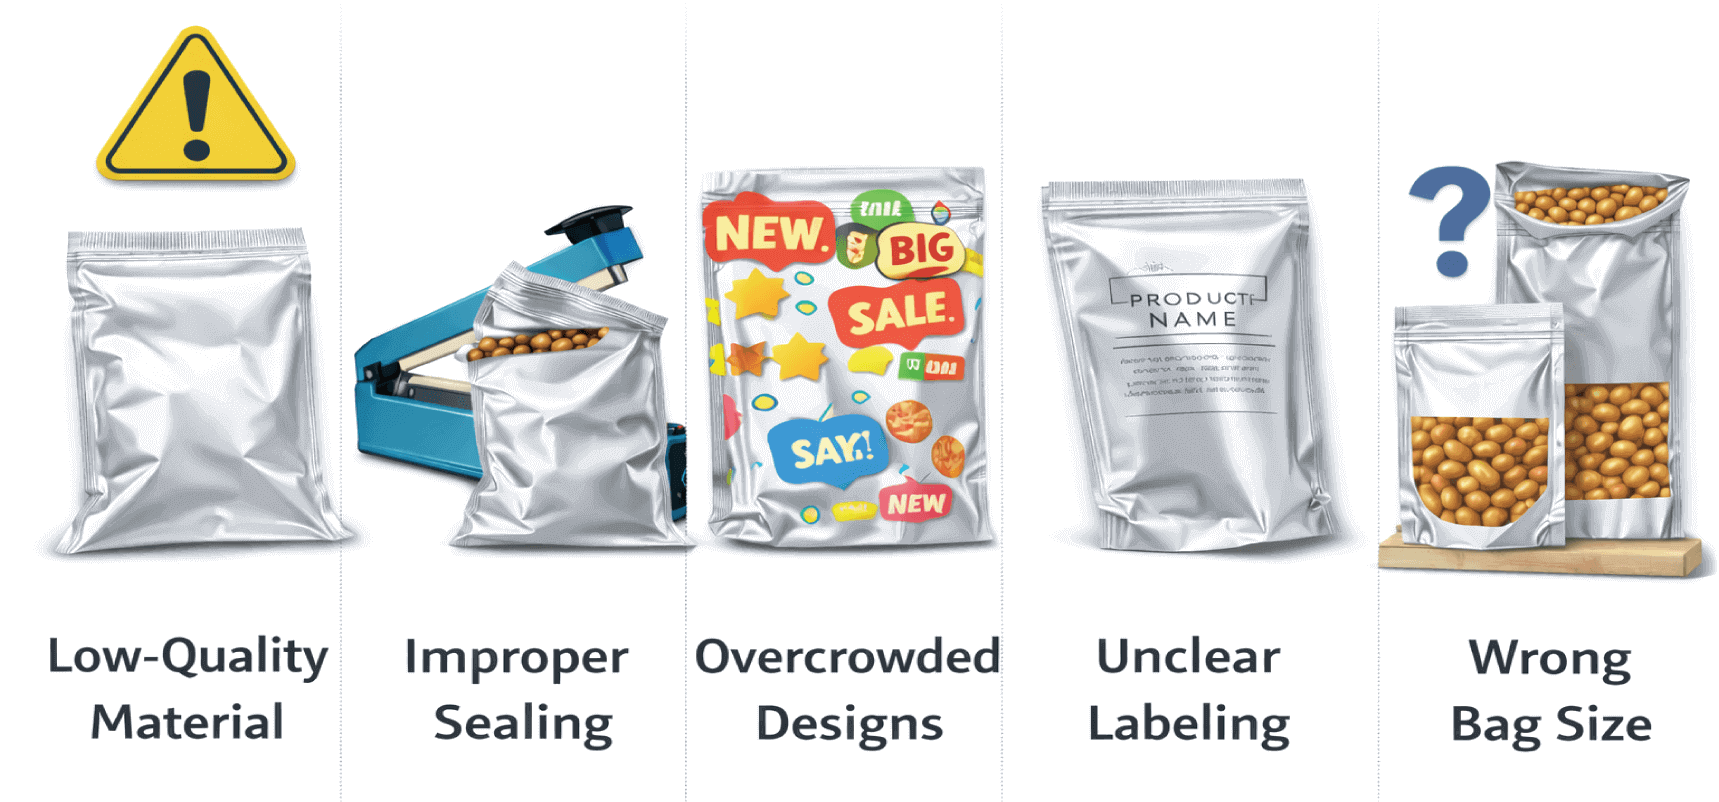
Conclusion
Once you understand the process, how to make your own custom Mylar bags becomes much easier. From selecting materials to sealing and testing, each step helps create packaging that looks professional, like a trusted provider such as Printing Shell. With practice, you can build pouches that protect your product and strengthen your brand at the same time.
FAQS
What type of products can be packed in custom Mylar bags?
Custom Mylar bags are useful for many types of products, including snacks, coffee, herbs, powders, cosmetics, and small retail items.
What is the best thickness for making them?
The best thickness depends on the product you want to pack. Lighter items usually work well with thinner material, while heavier or sharper products need thicker Mylar for better durability and protection.
Do I need special equipment to create bags?
No, you do not need expensive equipment for small-scale production. A ruler, cutting tool, Mylar sheet, and heat sealer are usually enough to start making simple and clean custom bags.
Can I add a zipper to homemade Mylar bags?
Yes, you can add zipper closures if you want the bag to be resealable. This is a useful option for products that customers may open and close multiple times after purchase.
How do I choose the right bag shape for my product?
The bag shape depends on the size, weight, and presentation of the item. Stand-up pouches are good for shelf display, while flat pouches work better for compact or lightweight products.